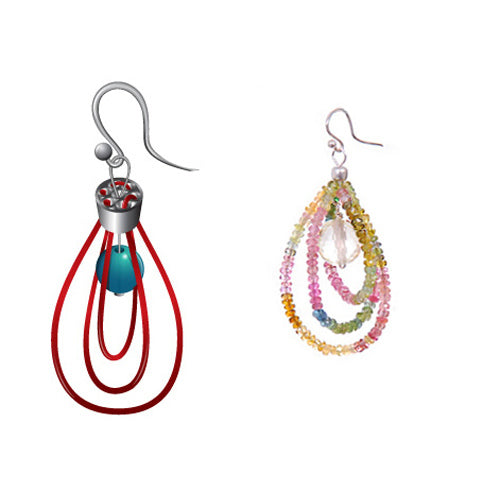
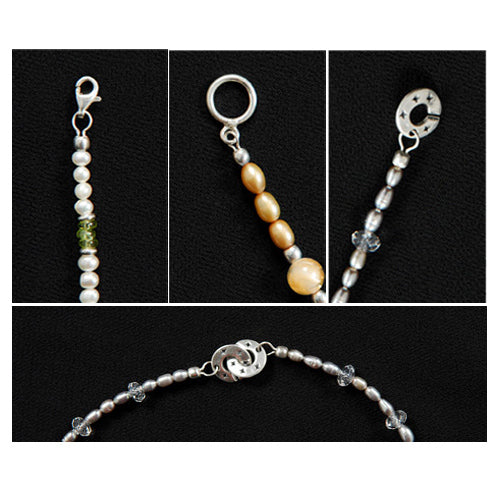
| Depending on your design and the number of strands in it, there are several ways to multi strand your designs using the Magic Finding, the two main ways are: 1) Going back and forth with only one piece of beading string between two or more Magic Findings. For an example of this see the blue beading string in the above demo. 2) Using one or more additional beading strings between two or more Magic Findings as seen in the red beading string in the above demo. In necklaces, bracelets and anklets make sure that the ends of your beading string go through the Magic Finding at least 2 times for maximum strength, as seen in the pictures below and in the above demo. Once you have assembled your design, crimp it into a round bead shape using The Patent Magic Forming Pliers as seen in the video at the bottom on this page |
 |
 | |
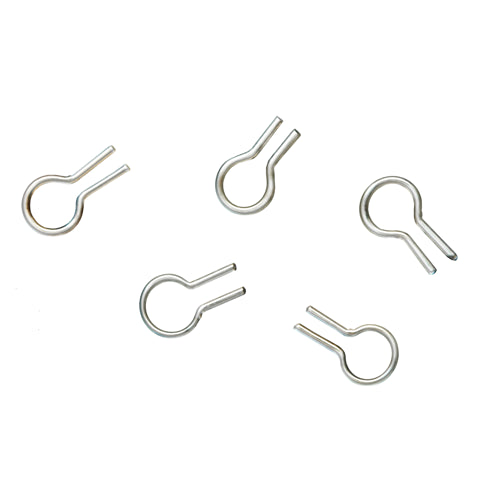
different things to your jewelry designs. Connect things to the Magic Finding by inserting any combinations of the following inserts into the holes of your Magic Finding; beading string, head pins, eye pins, Omega inserts and metal wire.  | |
|
It is important that every time you crimp with your pliers to always push and hold the Omega Insert in The Magic Finding To avoid marking the omega inserts with you pliers; make sure that the Magic Finding is centered and well | |
| If your Magic Finding has an Omega Insert in it, make sure the Omega is fully inserted in the Magic Finding, so that the ends of the Omega Insert stick out. |  |
| Each time you crimp the Magic Finding with Omega Inserts, press the Omega Insert with your finger so that the ends keep sticking out. If at any time the ends of the Omega Insert slip back in to the Magic Finding press them back out before proceeding. |  |
If your design has an Omega Insert in it , make sure the
|  |
Customer Reviews
No reviews yet Write a review
| Diamension(mm) | 8.31x5.03 |
| Metal | Sterling Silver |


